
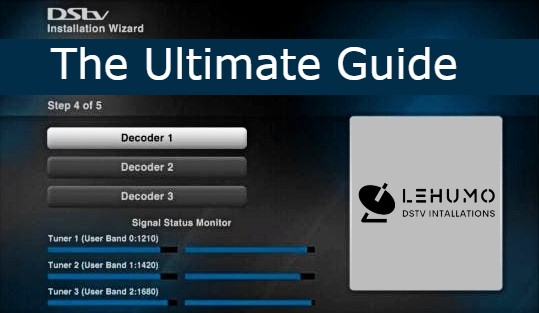
Are you encountering challenges with the DStv installation wizard, especially at Step 4 of 5? You’re not alone. Many individuals face issues due to incorrect decoder settings or signal problems at this stage.
If this sounds familiar, don’t worry. Most people experience similar difficulties.
Need help? Contact Lehumo DStv Installations at 073 721 2512 for expert assistance with your DStv setup.
But first, let’s delve into what the installation wizard entails.
Table of Contents
- What is the DStv Installation Wizard?
- Wizard Settings
- Running the Installation Wizard on the HD Decoder
- Running the Wizard on the Explora Decoder
- Conclusion
- Frequently Asked Questions
What is the DStv Installation Wizard?
The DStv installation wizard serves as a setup assistant, guiding users through the process of choosing decoder settings and connecting to the satellite. It typically initiates automatically when the decoder is powered on for the first time or after a reset.
By understanding how to navigate the wizard, you can potentially save on technician fees and set up your decoder independently.
Wizard Settings
During the installation wizard, you can adjust the following settings:
- Language
- Name of satellite (based on your country)
- Type of setup (quick or manual)
- LNB type (based on decoder model)
Running the Installation Wizard on the HD Decoder
To run the “DStv installation wizard” on an “HD decoder“:
1. Press the “blue “DStv button”” on your remote.
2. Navigate to “Settings” using the right arrow.
3. Scroll down to “Satellite Settings” and select “Home Network“.
4. Choose “Launch Installation Wizard” and press “OK“.
5. Select the satellite that matches your country (e.g., “IS20” for South Africa).
6. If you are using a Smart LNB, ensure to select the appropriate LNB type (“Universal” or “Smart/Unicable“) based on your setup.
7. If more than one decoder is connected to the same Smart LNB, you may not be able to select “Decoder 1” during the installation wizard. In such cases, try using “Decoder 2” or “Decoder 3“, which will use different frequencies.
8. Press “Scan” and wait for the scanning process to complete.
Running the Installation Wizard on the Explora Decoder
To run the DStv installation wizard on an Explora decoder:
1. Press the blue “DStv button” on your remote.
2. Navigate to “Settings” using the right arrow.
3. Scroll down to “Satellite Settings” and select “Home Network”.
4. Choose “Launch Installation Wizard” and press “OK”.
5. Select the satellite that matches your country (e.g., “IS20” for South Africa).
6. If you are using a Smart LNB, ensure to select the appropriate LNB type (Universal or Smart/Unicable) based on your setup.
7. If more than one decoder is connected to the same Smart LNB, you may not be able to select “Decoder 1” during the installation wizard. In such cases, try using Decoder 2 or Decoder 3, which will use different frequencies.
8. Press “Scan” and wait for the scanning process to complete.
Conclusion
Running the DStv installation wizard doesn’t have to be a daunting task. By following the steps outlined in this guide, you can configure your decoder with ease and avoid common pitfalls.
If you encounter signal issues during the process, refer to our troubleshooting tips or consider seeking assistance from accredited DStv installers.
Contact Lehumo DStv Installations at 067 567 6329 for expert assistance with your DStv setup.
Frequently Asked Questions

How do I get rid of the DStv installation wizard?
To remove the installation wizard, ensure your decoder settings are correct. If signal issues persist, address them before attempting to run the wizard again.
What does the error message "This function cannot be performed now" mean?
This error message typically indicates a problem with your decoder settings or signal reception. Ensure that your LNB type is correctly configured and that there are no obstructions to the satellite dish's line of sight.
Can I use the DStv installation wizard with any decoder model?
While the installation wizard is available on most DStv decoder models, some older models may not support it. Refer to your decoder's user manual for specific instructions.
How often should I run the DStv installation wizard?
It's recommended to run the installation wizard whenever you encounter signal problems, replace your decoder, or move your satellite dish to a new location.
What if I have multiple decoders connected to the same Smart LNB?
If more than one decoder is connected to the same Smart LNB, you may not be able to select "Decoder 1" during the installation wizard. In such cases, try using Decoder 2 or Decoder 3, which will use different frequencies.
Why is the DStv installation wizard important?
The DStv installation wizard ensures that your decoder is correctly set up to receive satellite signals, providing you with access to DStv channels and services.
Can I run the installation wizard without an internet connection?
Yes, the installation wizard doesn't require an internet connection. It only configures your decoder's settings to receive satellite signals.